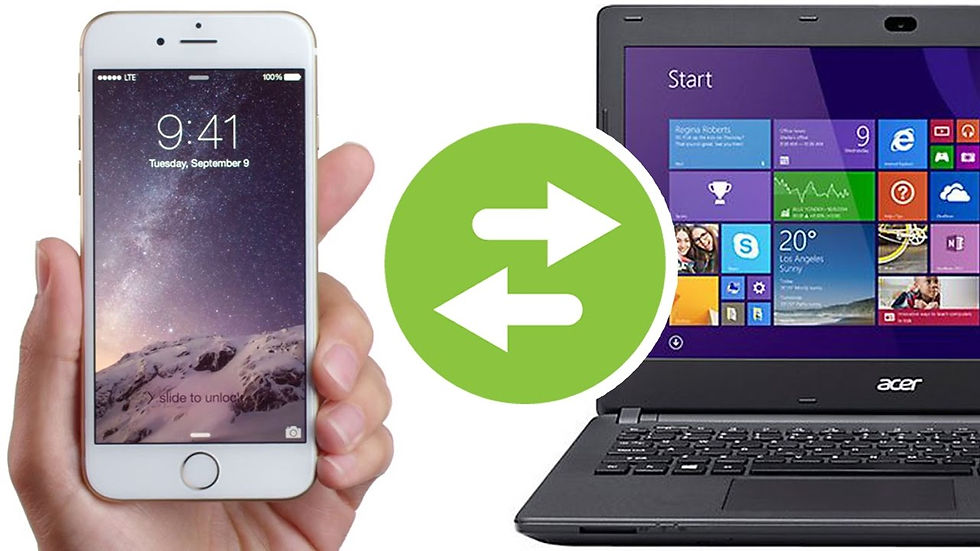
How to Transfer Photos from iPhone to Windows PC
- clarkebobby366
- Sep 9, 2020
- 3 min read
Transferring images and snapshots directly from your iPhone to Windows PC seems very easy, but if you are thinking to do so, you need to follow some workarounds and instructions.
You may want to get your desired photos off your iPhone, and to your Windows PC. If you need your iPhone photos directly on Windows PC, you have several options. You can easily use iCloud Photo Library and USB-to Lightning cord for this process.
Here is how to move photos and files from your iPhone to Windows PC:
Downloading iTunes
In case you wish to transfer files over a USB cable, you need to download iTunes for your Windows 10 device. It will enable you to permit your iPhone to get recognized by your Windows device from the File Explorer section. You need to follow the manual process for this task.

Note: Users can download iTunes for their Windows device directly from the Windows Store.
Connect iPhone to Windows PC
You need to follow these under-mentioned instructions for connecting your iOS smartphone to a Windows computer:
Firstly, connect your iPhone to PC through USB-to lightning cable.
Next, click the Trust option from your iPhone.
Then, type the secured password on the iPhone.
Now, your device is ready for transferring images directly to your Windows PC over a USB based connection.
Transferring Photos Using Windows 10 Photos App
First of all, launch the Photos app on your PC by navigating any of these sections: Start Menu, Taskbar, or desktop once the smartphone is properly connected to your Windows device.
Then, press the Import tab located at the uppermost- right-hand side edge.
After that, you need to tap the option “From a USB Device.”
Press the Next button.
Hit the Photos that you desired to transfer to your Windows PC.
After that, tap the pull drop menu located just beneath the option “Select” if you wish to select multiple items.
Now, press the option “Items since last import” for importing the selected images you have taken since last time you did the same task. For importing all your snapshots or images, click the “All Items” tab there.
Press the Import button.
Transferring Photos Directly from your iPhone to Windows PC using File Explorer
It’s not a very straightforward process, but it gives you many features and options to select from to store your entire images. To use File Explorer for transferring photos on your PC, follow these instructions:
Launch the File Explorer on your device directly from the Start Menu, Taskbar or Desktop.
Now, press the option “This PC” from the sidebar.
After that, perform a double click on the iPhone option situated under the section “Drives and Devices.”
Now, apply double click on the option “Internal Storage.”
Next, double tap on the section DCIM to launch it.
After that, perform a double click on any of the available folders. Check and then select them as per your choice that you wish to transfer to your PC.
In case you wish to select multiple images, hold the Ctrl key and then select the desired images.
Hit the “Copy To” option located into the toolbar.
Click the tab “Choose Location” to select your desired location. You may tap one of the available options appearing via pull drop menu.
Choose the location where you wish your images to be saved.
After that, press the Copy tab and don’t unplug your iPhone until the process is over.
Wait for a little as all your selected photos will be transferred to your Windows PC. You can check them all by navigating the Photos app directly on your Windows PC.
Note: it is recommended to keep the device connected until the process completes properly.
At last, reboot the device to save all your set-ups and modifications you have made for transferring your photos.
Conclusion
In case you wish to transfer your images from iPhone to Windows desktop, then you could use iCloud Photo Library and USB Lightning cord. While Apple provided a direct method to transfer files between iOS devices and Mac computers, these options are not available for Windows.


Comments